Deployment
Heroku
Requirements for Heroku.com Hosting
- An Account on Heroku.com
- An Account on aws.amazon.com
- For the Static & Media Files a S3 Bucket on aws.amazon.com
Create a new IAM User for aws
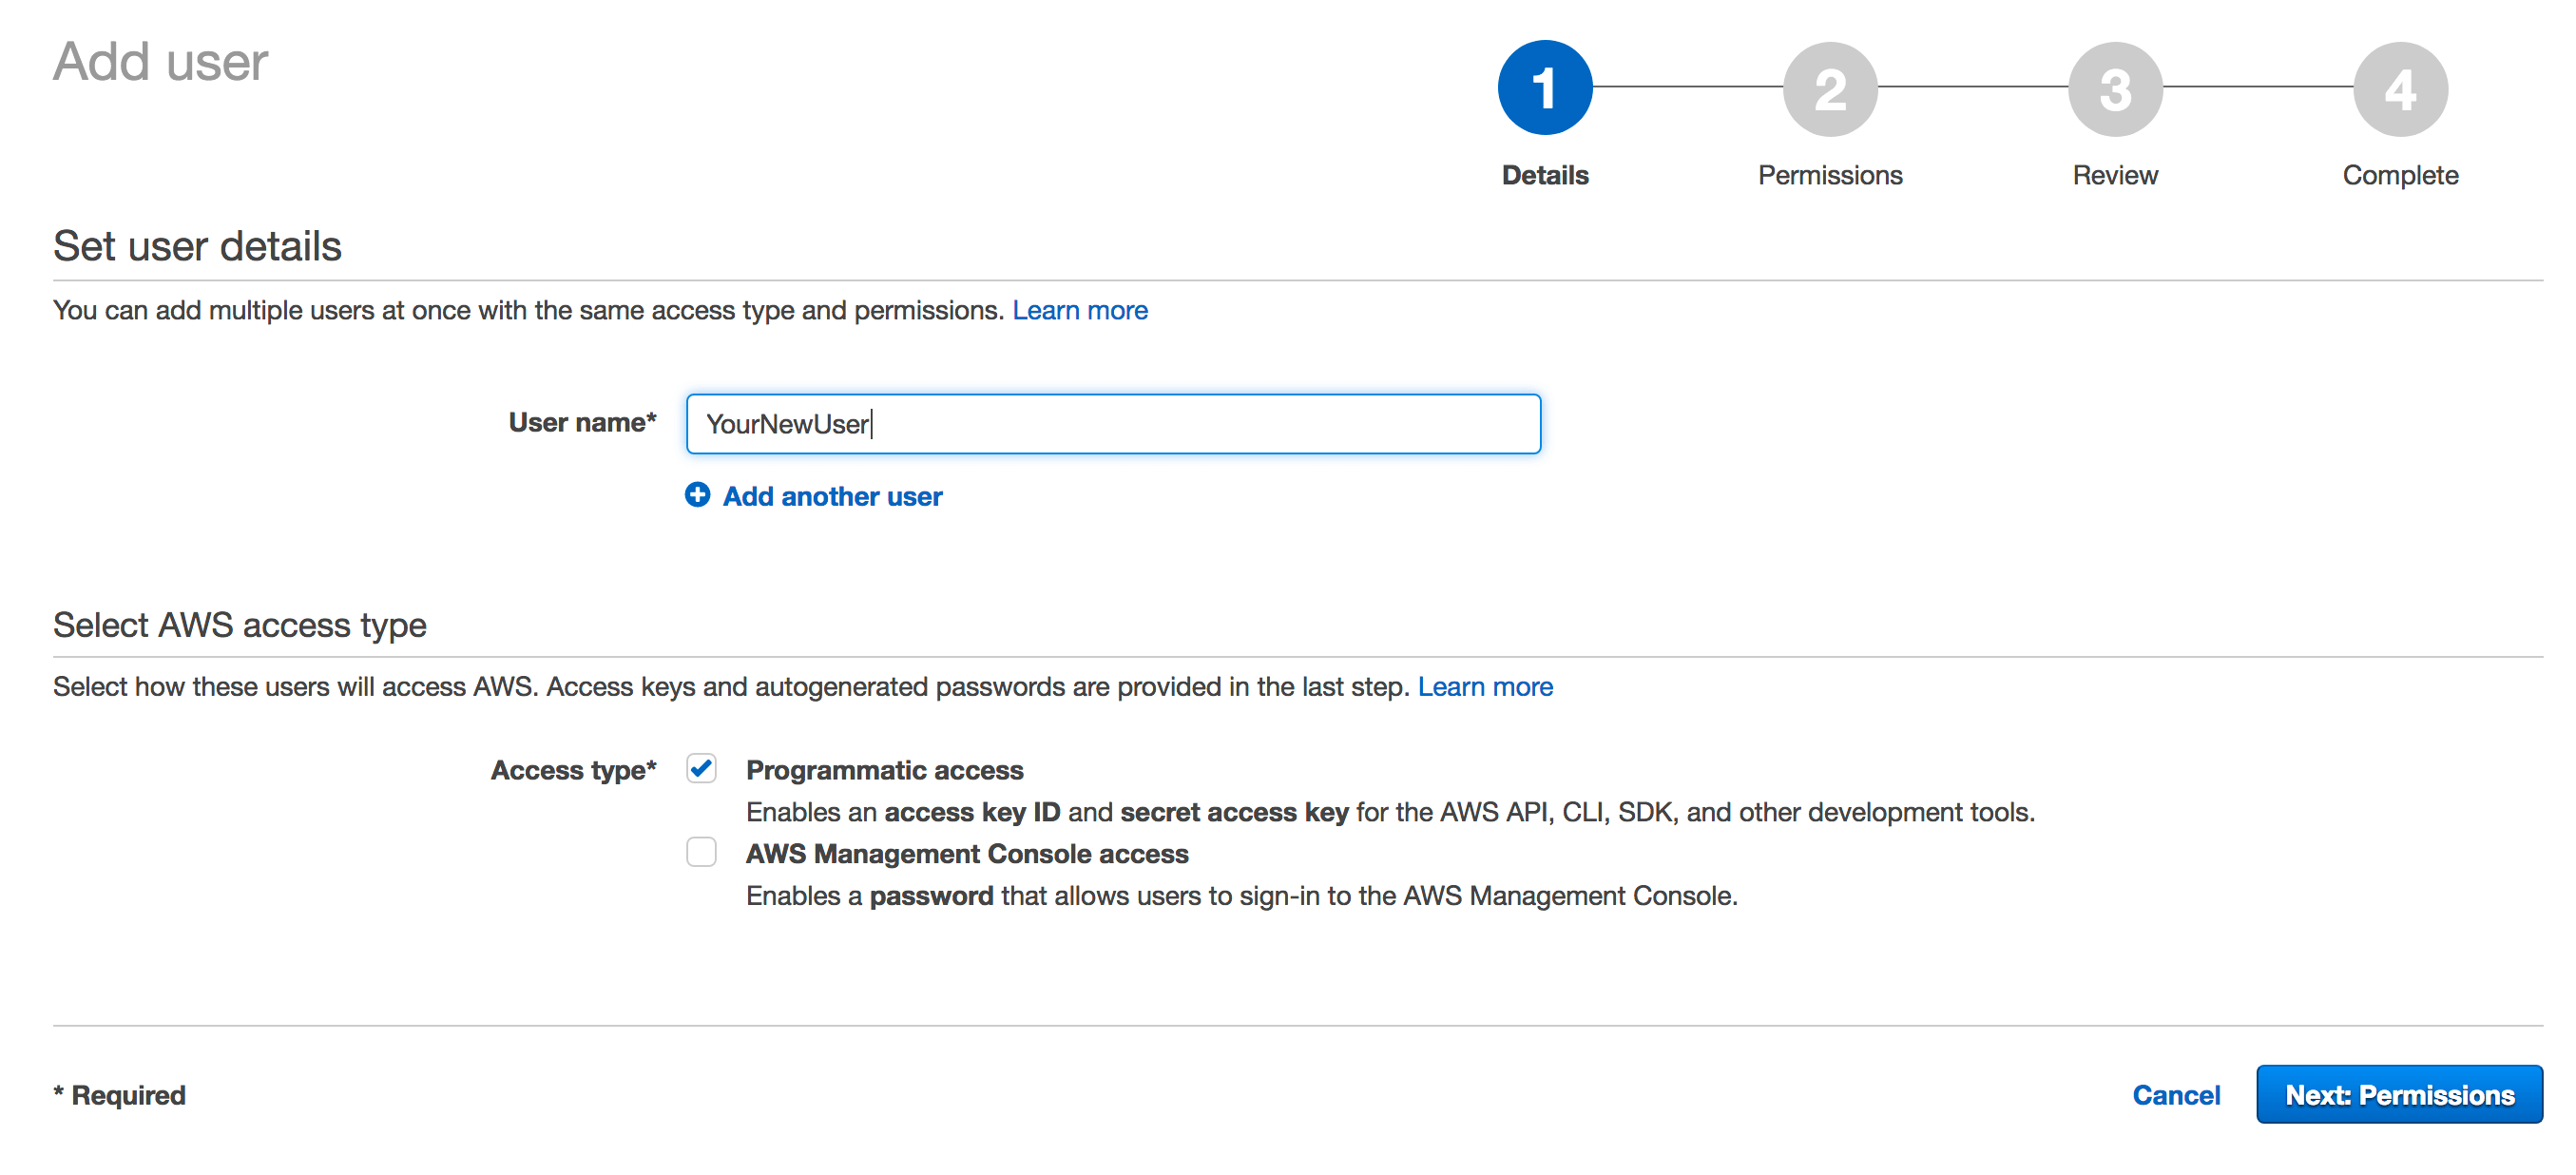
Go on create new IAM user to create a new IAM User for your S3 Bucket.
At first enter a User name` and activate Programmatic access and than on Next: Permission button.
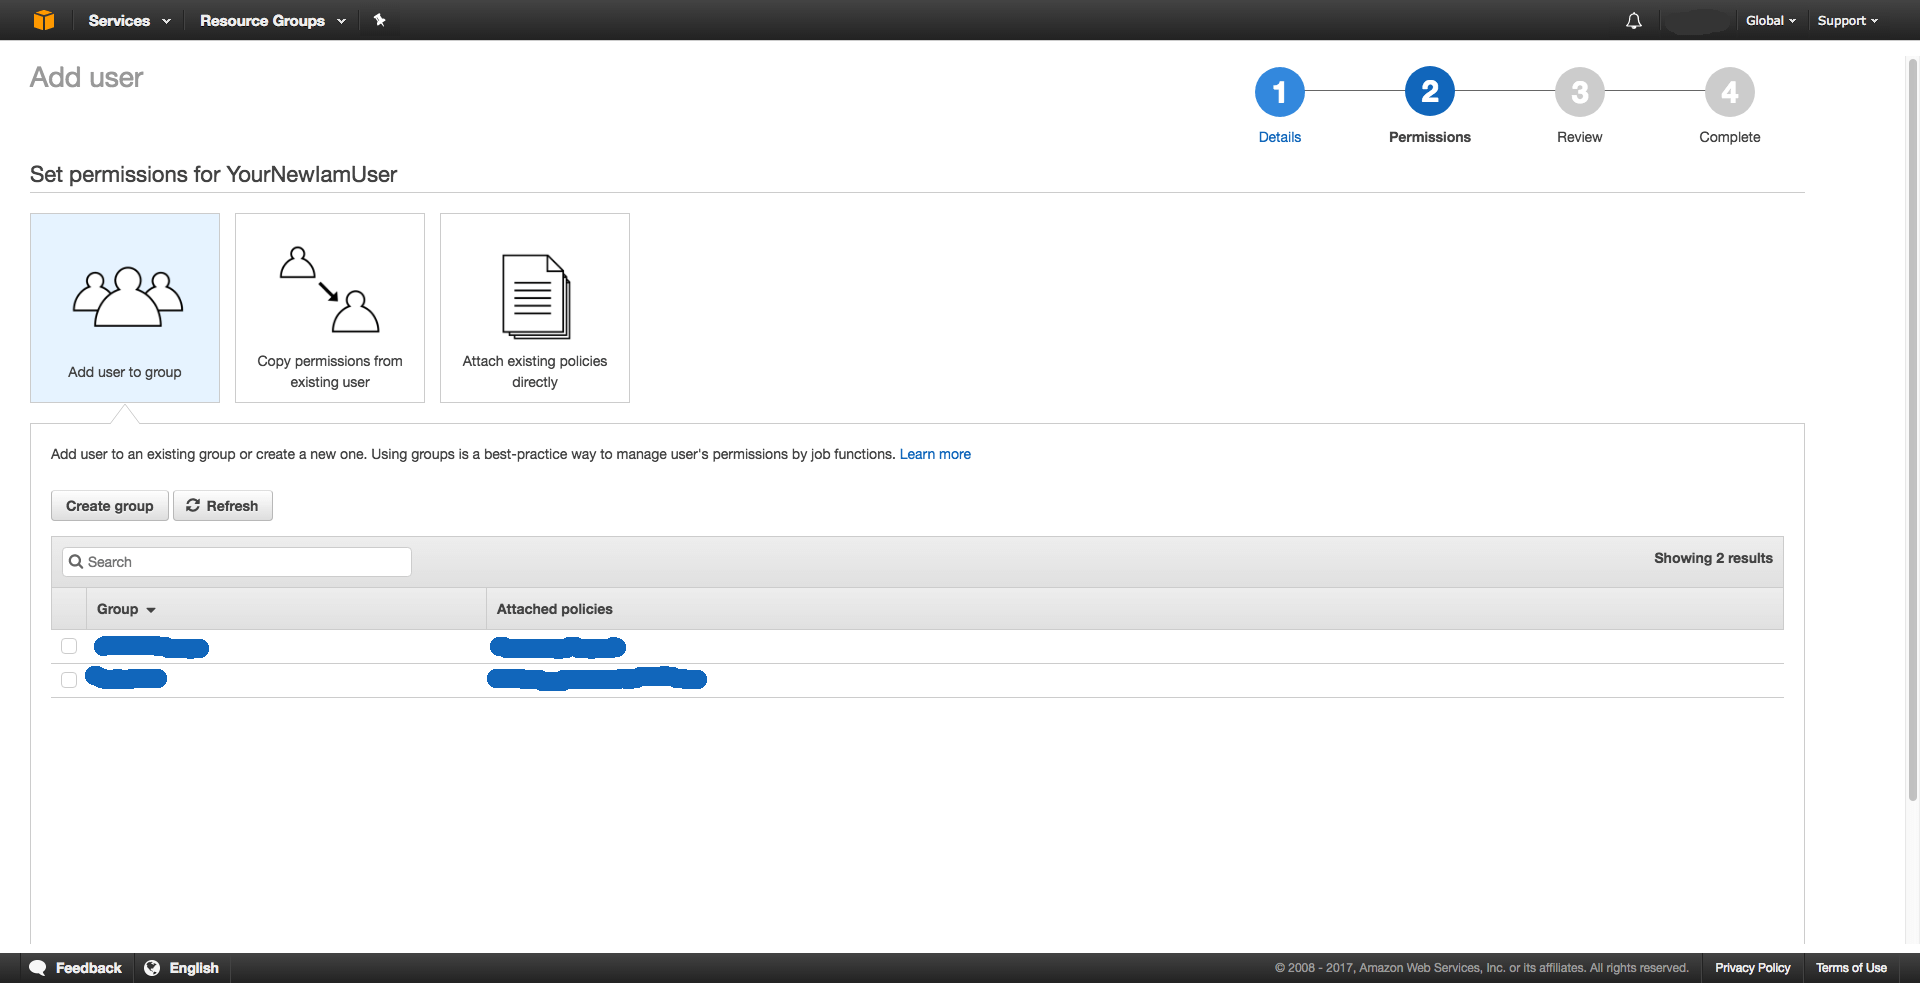
On the next page Set permissions for YourNewIamUser just click on Next: Review without to add any group or policies.
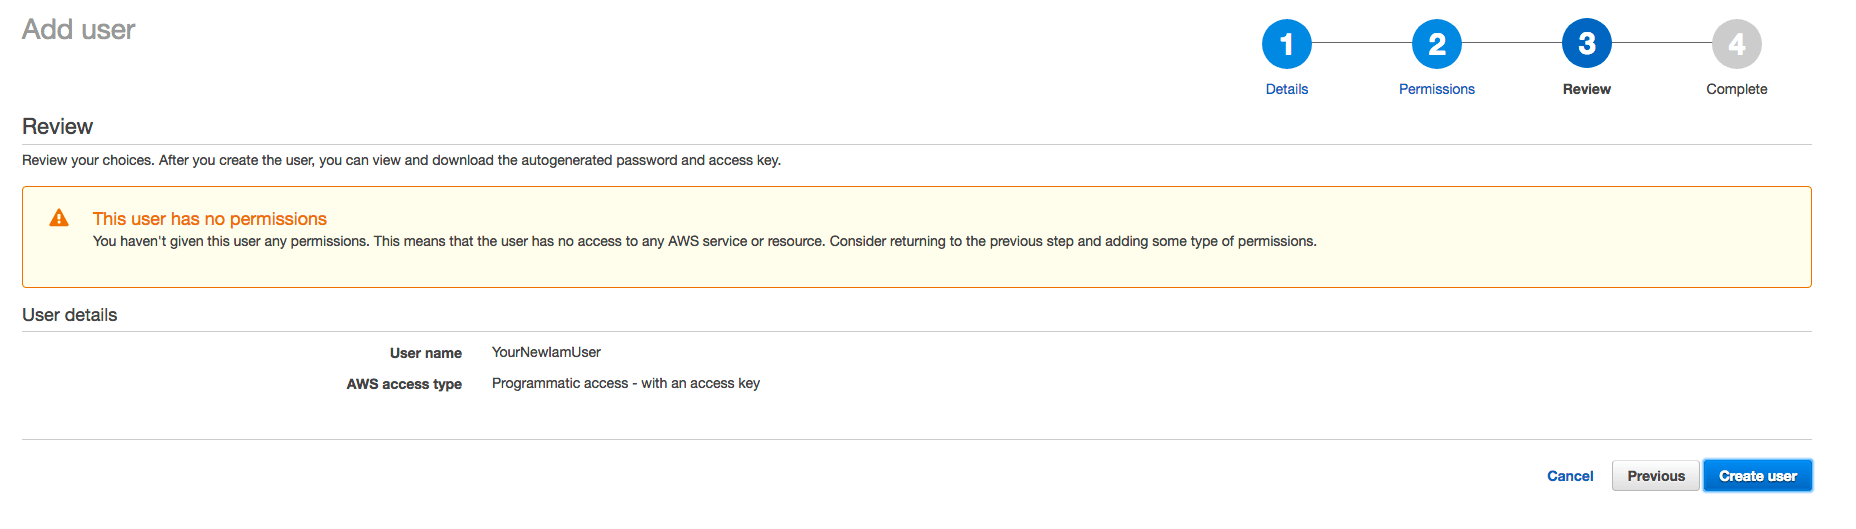
On Review ignore the warning This user has no permissions and click on Create User.
On the last page write down your new Access key ID & Secret access key to use it later on the deployment. And in
the end click on Close

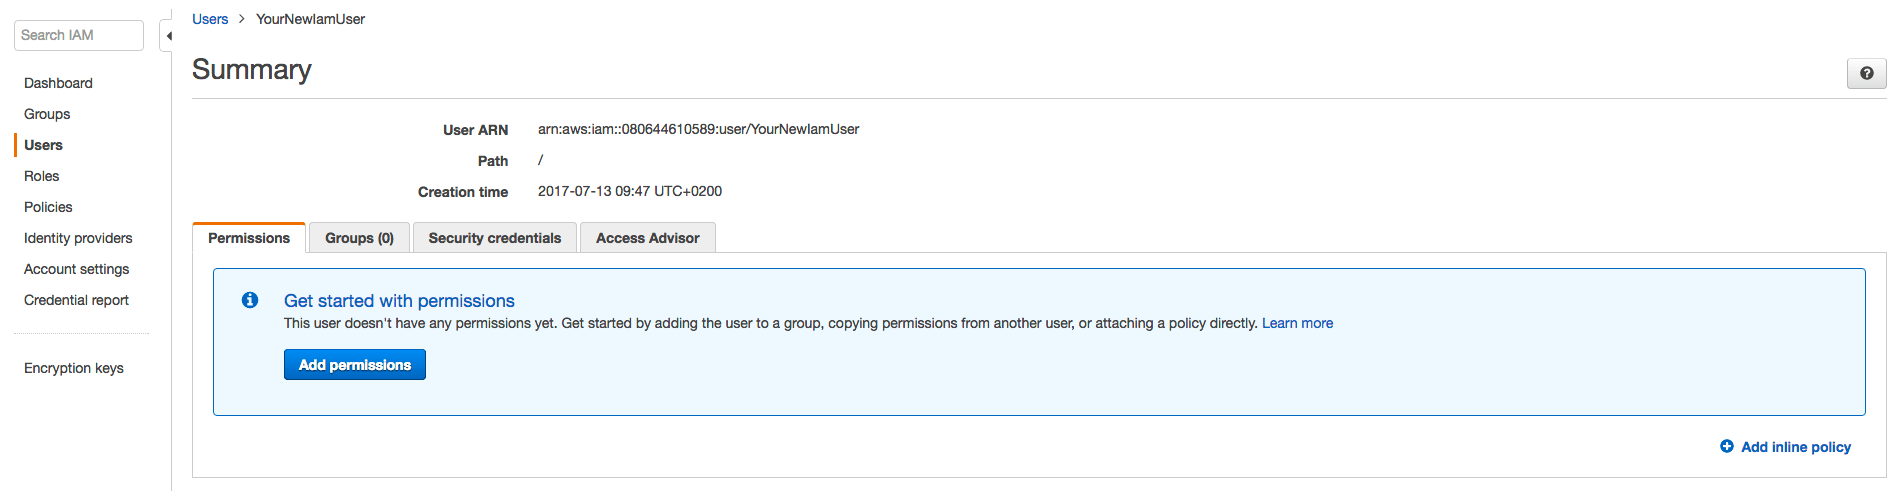
Now get the User ARN, for that click on your new created user.
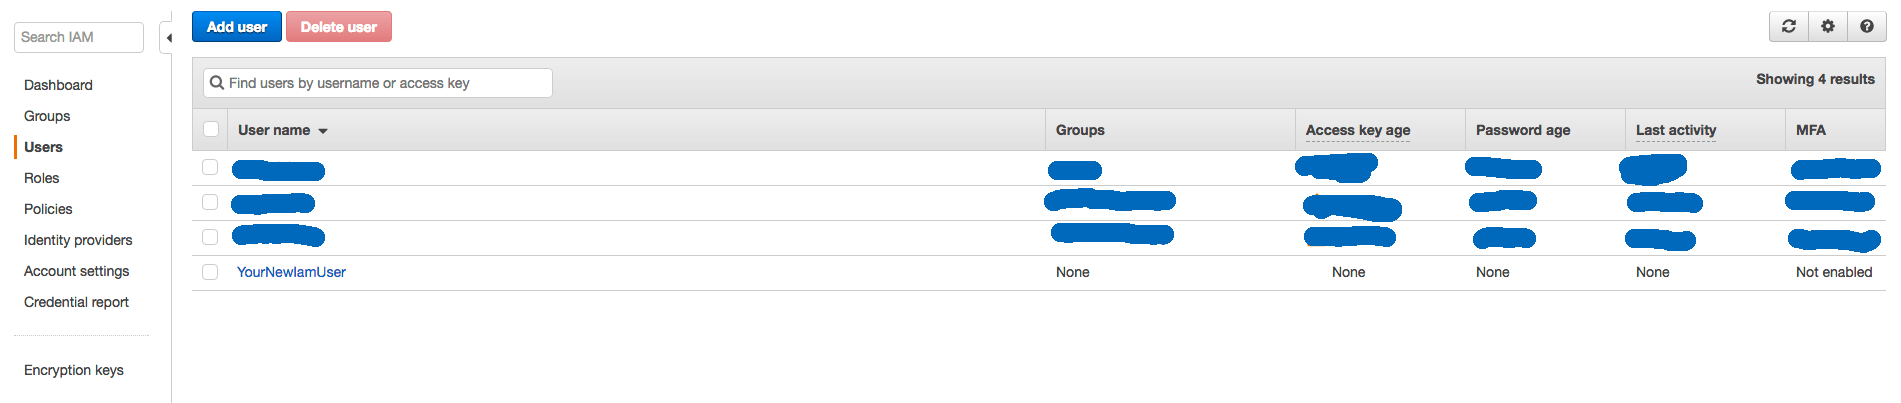
In the Summary page you will see the user ARN, also write it down for using to setup your S3 Bucket.
Setup a S3 Bucket
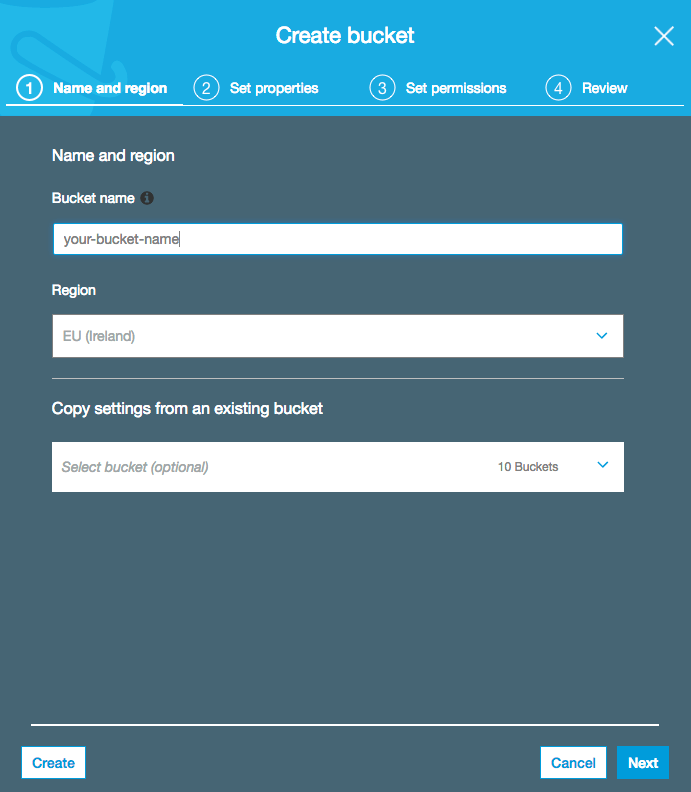
To create a S3 Bucket for the media & static files go on create new S3 Bucket and click on + Create bucket.

In the following wizard enter your Bucket name and select your Region than click on Next.
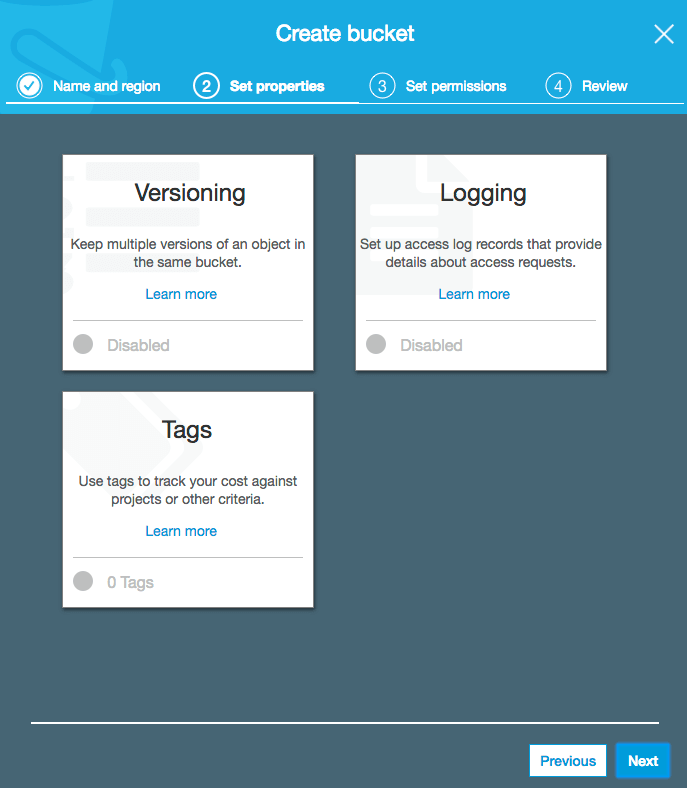
On the next page ‘Set properties’ just click on Next.
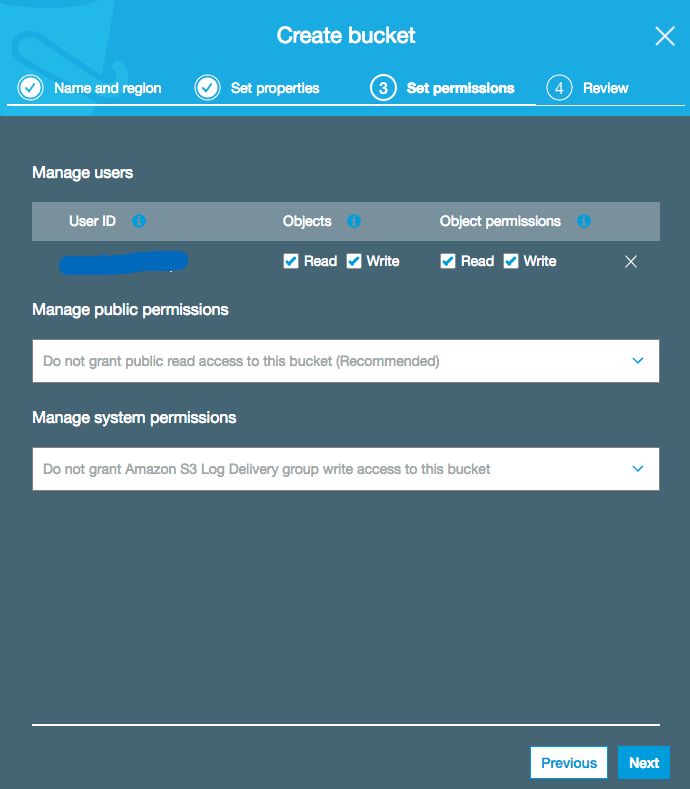
And again on ‘Set permission’ just click on Next.
For the last time ‘Review’ just click on Create Bucket.

So after the Bucket is created click on your new Bucket in the list and on the right side click on Permissions.
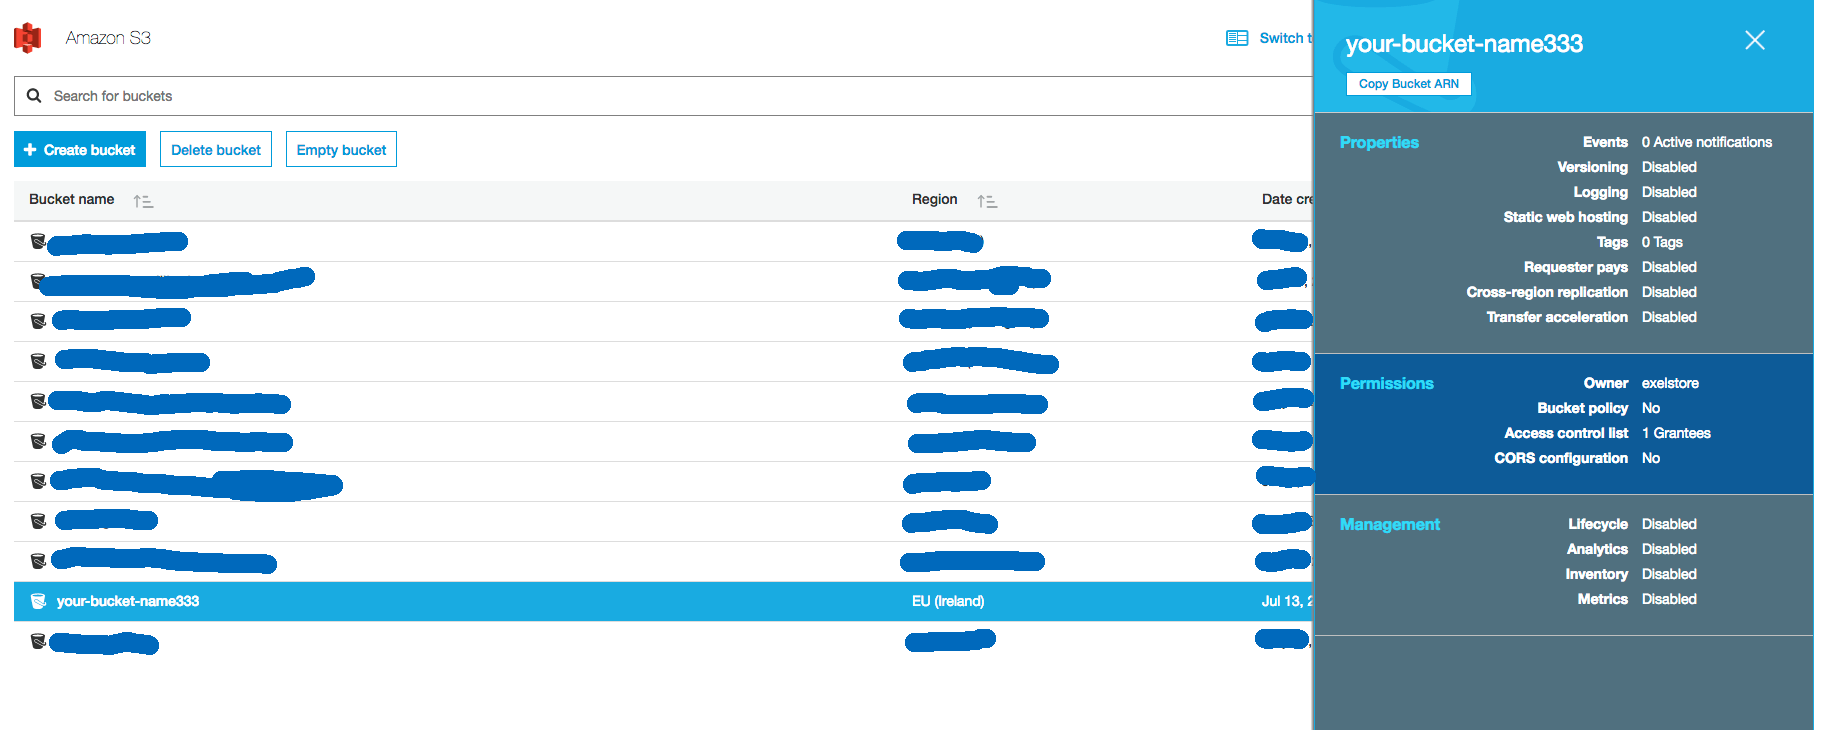
At next click on Bucket Policy and write down the following policy.
Importent change BUCKET-NAME with your Bucket name and USER-ARN with your just befor created user.
{
    "Version": "2008-10-17",
    "Statement": [
        {
            "Sid": "PublicReadForGetBucketObjects",
            "Effect": "Allow",
            "Principal": {
                "AWS": "*"
            },
            "Action": "s3:GetObject",
            "Resource": "arn:aws:s3:::BUCKET-NAME/*"
        },
        {
            "Effect": "Allow",
            "Principal": {
                "AWS": "USER-ARN"
            },
            "Action": "s3:*",
            "Resource": [
                "arn:aws:s3:::BUCKET-NAME",
                "arn:aws:s3:::BUCKET-NAME/*"
            ]
        }
    ]
}
Cors Setup
<CORSConfiguration>
  <CORSRule>
      <AllowedOrigin>*</AllowedOrigin>
      <AllowedMethod>GET</AllowedMethod>
      <MaxAgeSeconds>3000</MaxAgeSeconds>
      <AllowedHeader>Authorization</AllowedHeader>
  </CORSRule>
</CORSConfiguration>
Policy & Cors by Wagtail.io: Wagtail.io Blog - Amazon S3
Deploy to Heroku.com
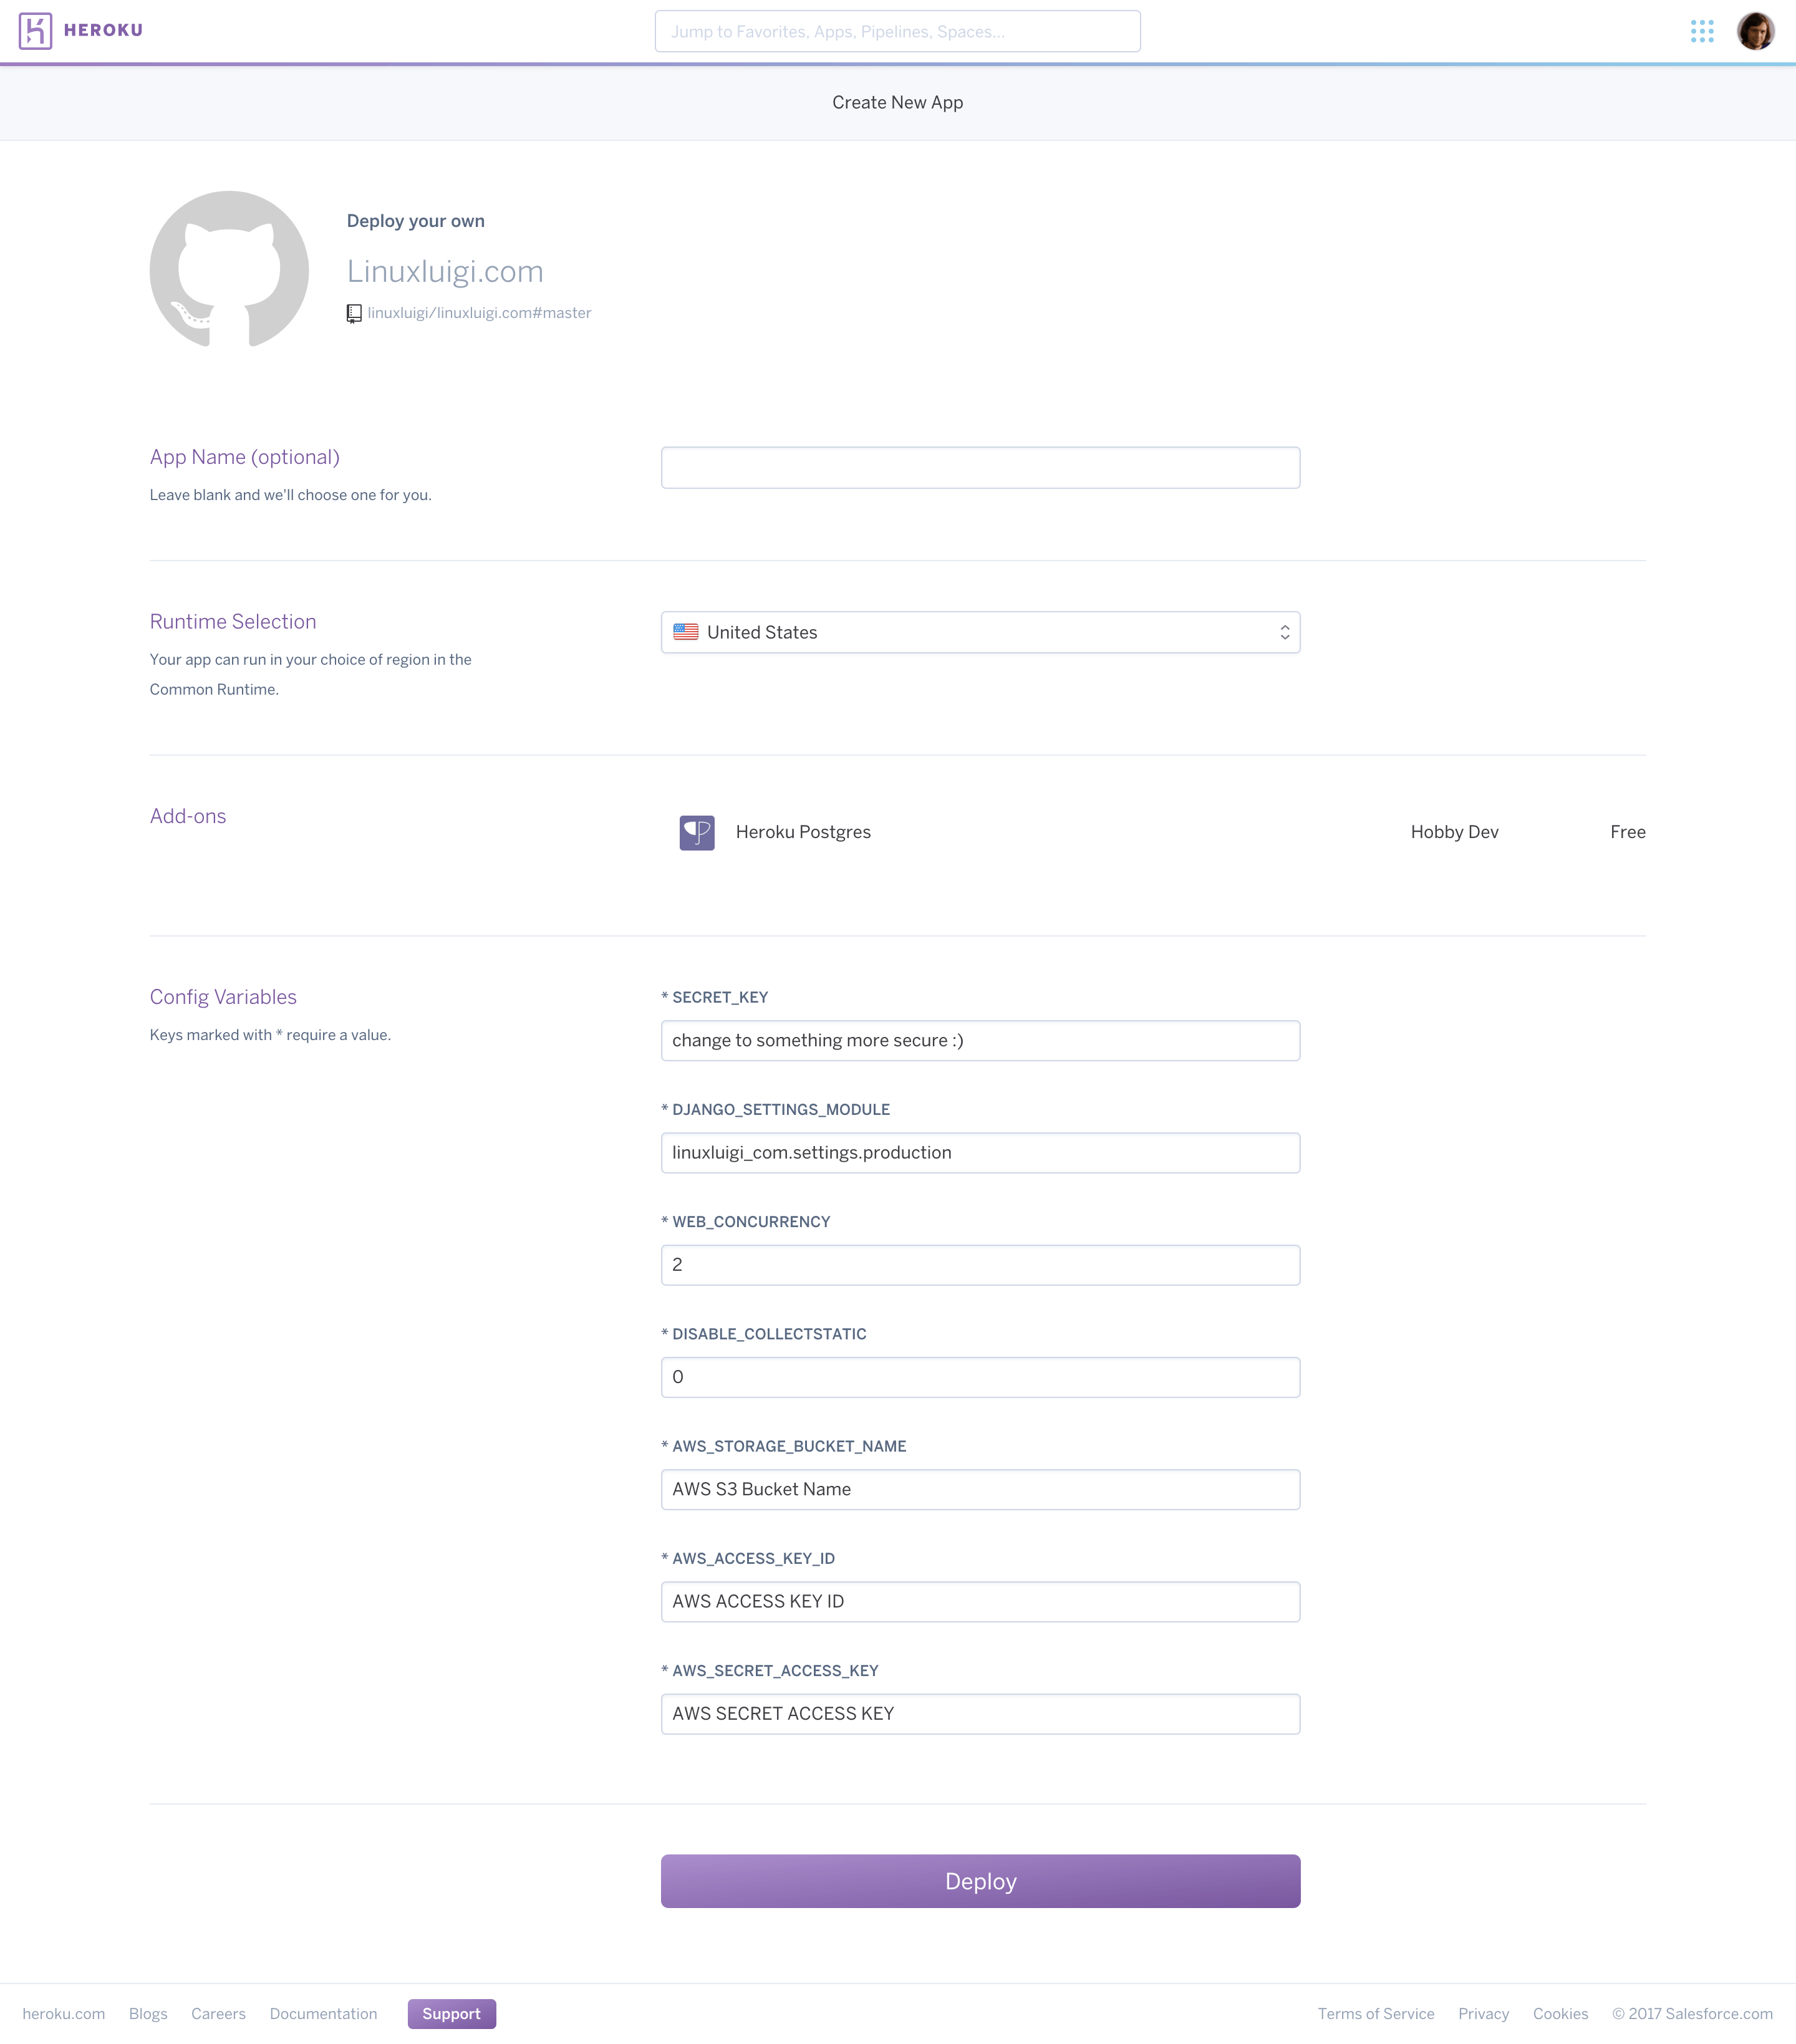
For easy deployment click on the Heroku Deployment Button, there you will see a pre configured heroku app.
The App Name (optional) and Runtime Selection you can change as you like but in the Config Variables section
you have to change the SECRET_KEY to something new (you can use Django Secret Key Generator) and
AWS_STORAGE_BUCKET_NAME, AWS_ACCESS_KEY_ID & AWS SECRET ACCESS KEY you have to insert your just created values
from Create a new IAM User for aws & Setup a S3 Bucket

Update the deployed page on Heroku
- Go to Heroku Dashboard select your new App and click there on
Deploy. There stand your App name.
- Download and install the Heroku CLI.
$ heroku login
- Clone your repository
$ heroku git:clone -a YourAppName
$ cd YourAppName
Now there will be display warning: You appear to have cloned an empty repository.. A complete solution for the
problem is written on You appear to have cloned an empty repository.
$ git remote add origin git@github.com:linuxluigi/linuxluigi.com.git
$ git pull origin master
- Run development Server
$ virtualenv -p python3 venv
$ source venv/bin/activate
$ pip install -r requirements.txt
$ python manage.py migrate
$ python manage.py createsuperuser
$ python manage.py runserver --settings=linuxluigi_com.settings.dev
- Deploy your changes
$ git add .
$ git commit -am "make it better"
$ git push heroku master